
Even though design and photography are essential elements of a great website, I’ve noticed that many bloggers and business owners feel unnerved about using Photoshop. Today, I have a tutorial that even the most inexperienced Photoshop user could do, and it comes with pretty gorgeous results! I will be showing you how to brighten photos as well as other quick tips for making your photos pop. And by quick, I mean quick. You will have a prettified photo in 60 seconds or less (and guess what: good photos means more clients, more followers, more engagement!)
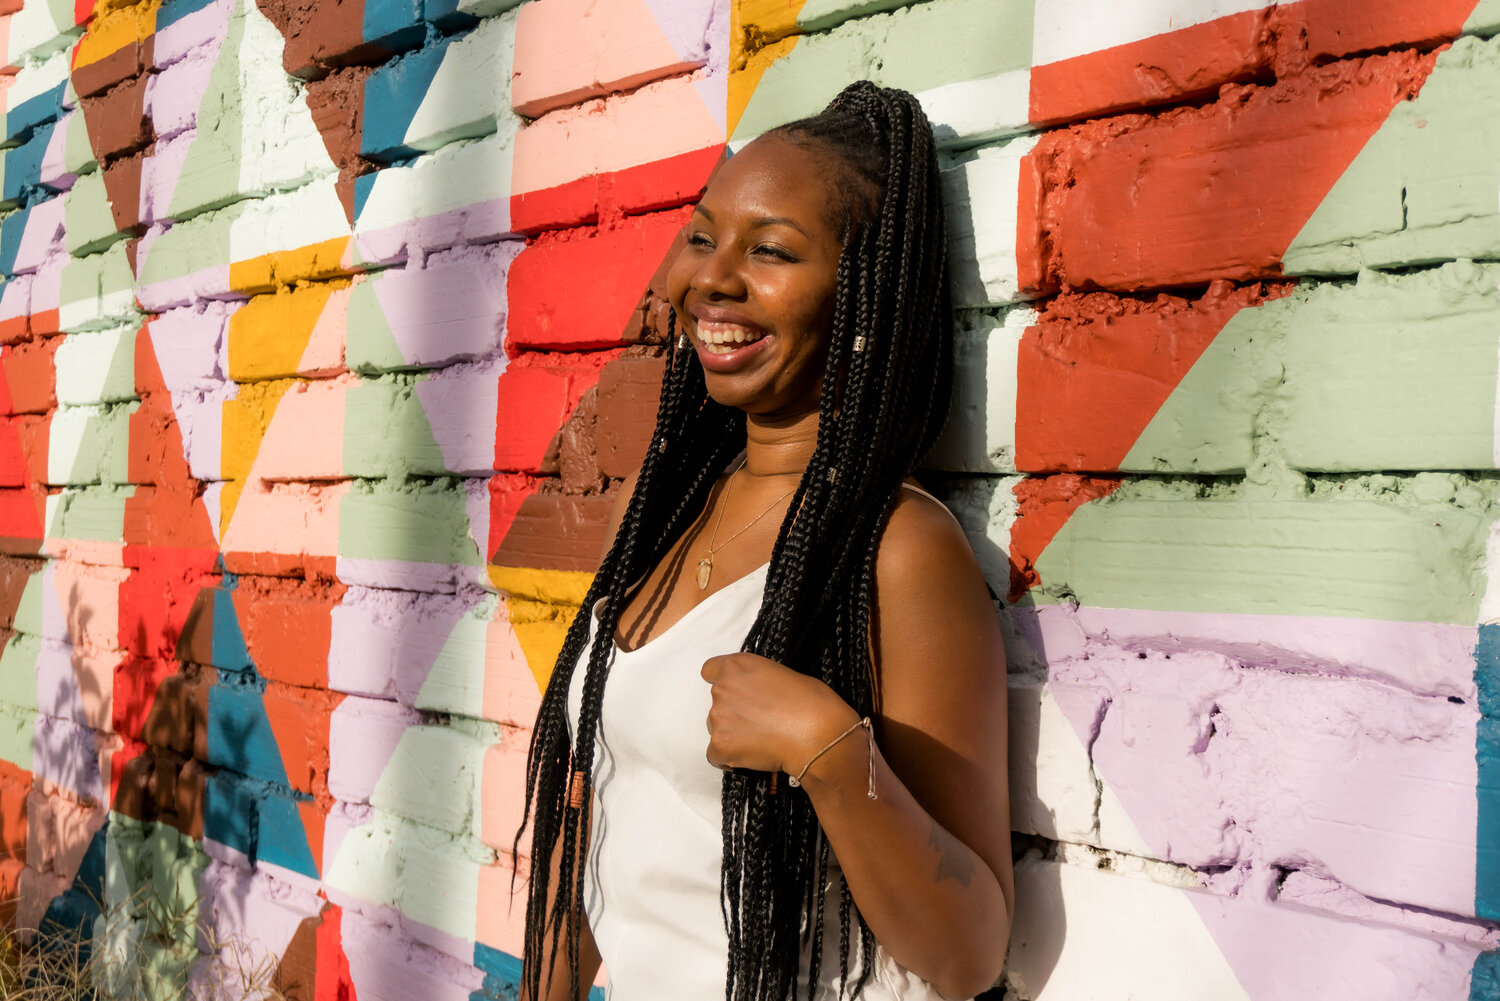
If you look at the graphic above, the photo on the left is what the image looked like straight out of the camera. It’s a little dark and dingy, isn’t it? Now, we’re going to brighten and color correct it to create that beautiful, vivid photo on the right!
1. Use “Curves” in Photoshop to brighten photos
There are a few ways to brighten your photos, but first we’ll start with “Curves.” To access Curves in Photoshop, you can either go to Image >> Adjustments >> Curves, or press “command” and “M” at the same time. A little graph will pop up, like the one below. To brighten your photo, just drag the line on the graph slightly higher, similar to what mine looks like below. You don’t need to drag it very far to start seeing great results! When you like the brightness, click “OK.”
Quick Tip: If you’re not seeing any changes, then make sure the “Preview” button is checked.

Related: How to Create a Clipping Mask in Photoshop (And Why It’s Great For Bloggers!)
2. Adjust the brightness.
This one seems like a no-brainer, right? To get brighter photos, adjust the brightness! To find this tool, go to Image >> Adjustments >> Brightness/Contrast. Then, drag the “brightness” scale a little to the right until you like the outcome. You can also adjust the contrast, if need be.

Related: How to Create a Hand-Lettered Blog Header (Without a Scanner!)
3. Fix those colors!
Lastly, your photo colors might be slightly off, which happens in imperfect lighting situations. If you compare the photo above to the one below, you’ll see that the above image is more yellow and the one below is more blue, which brings out the bright, crisp whites in the photo. To adjust this, I went to Image >> Adjustments >> Color Balance, or you can also press “command” and “B” at the same time.
Then, drag the cursors away from the colors you’re trying to decrease. In my case, I wanted to get rid of the slight red and yellow tones in my photo, so I dragged the scales slightly toward “Cyan” and “Blue.” This really brought out the white, bright hues in my image!

Finally, it might make your photo pop if you “sharpen” it slightly. To do this, you can go to Filter >> Sharpen >> Sharpen, or press “command” and “F” at the same time. I don’t recommend over-sharpening it, though! Things can start looking a little cray. 😉 Once is usually enough.
For each of these tips, adjust the settings based on your own photos. In other words, using the exact same numbers and settings that I used in the example above won’t necessarily be ideal for your images. The beauty of Photoshop is that you can preview your changes, so you’ll always be able to see what the output looks like.
If you’re planning to use your photos on a website, I also recommend going to Image >> Image Size and adjusting the resolution to 72. Then, to save for your photo, go to File >> Save for Web. This will still make your photos look gorgeous online, but shouldn’t slow down your website the way enormous photos from your camera would!
I hope these tips on how to brighten photos were helpful. Please let me know if you have any questions! 🙂
p.s. Want to see more brightened + beautified photos from this photoshoot? Check out my living room tour!












Great tip! Thanks!
Kristi
http://www.beloverly.com
Glad to help, Kristi! 🙂
You are really good at clear and concise Photoshop tutorials. I always appreciate it and I love seeing how other people achieve the results the get with their photos.
Aww yay! That makes me really happy to hear. 🙂
Curves is a great tool in photoshop. I use it all the time for work.
Yesss love curves. 🙂
I never knew about the curve tool until last year and it has been a life saver!
I love it, too! So useful.
I’ve never used Curves… just the brightness tab and usually run an Action or two over the top. Thanks for sharing in simple terms!
Actions are great, too! 🙂
Hey Melyssa, It’s Lynne here again 🙂 When you resize your photos for the web, do you also reduce the pixels? Or is it okay to leave it as is? For example, I usually reduce my images to 1000 pixels for my blog. If I just resize for the web to 72 dpi and the image settles at 1600 pixels, is that still a safe size for the web? Or do I reduce it further? I struggle with having a crisp photo for the web after I reduce the image from 4000 pixels to 1000 pixels. Cheers and THANK YOU in advance! Lynne
Hi Lynne! Great question! I would reduce the pixels to no more than 1000 pixels wide. Even 1000 may be too large, unless your images are that wide on your site. If the images appear smaller on your site (most blog images are between 600-800px), then it would only help to reduce the image pixels even smaller to match the width of your blog. The images will still look crisp, but it will help your site’s loading time even more. 🙂
I wish I had Photoshop. I literally have to use my phone apps to get the brightness I like on my photos. This is useful information for me for the future, though. Thanks for sharing.
Hi Erica! What’s stopping you from getting Photoshop? Adobe actually has a monthly subscription now, which is $10/month vs. the expensive fee you used to have to pay to buy the program ($500+). It’s pretty inexpensive now and they also offer a free 30-day trial. 🙂 Just wanted to share in case that helps!
Wow! I had no idea they offered that option! Thanks for letting me know. That is very exciting
Yeah!! It’s pretty awesome. 🙂
Hola Mel 😀
Thank you so much for this awesome advice/tutorial ♥!
In mi pictures I used only the brightness/contrast but now I’m in love with the sharpen tool ♥♥♥!! Thank you~♪!
Thanks for this… I use curve to adjust my photos too. 🙂
Arbie | http://www.arbielaoque.com
Aw yay! It’s so useful — magic!
Thanks so much for sharing. That’s so helpful!
I didn’t know about the curves and was struggling to get clear photos. Thanks so much for the tip!!
So glad it was helpful for you! Best of luck, Pili 🙂
thank you for sharing!
No problem! 😀
Thanks for the great tutorial! I struggle with (the lack of) brightness often and I’ve used curves in an ‘S’ shape, but not like an ‘O’. Hope this improves my photos!
LIINALOVESXO
Yay! I’m so glad this was helpful for you, Liina. 😀
This tutorial is great. I got to learn many new things. Well Done!